Hallway Makeover Part 1 (The Design Stage)
Hello, fellow interior design enthusiasts! I am super stoked to reveal the initial phase of my DIY hallway revamp for my apartment. It'll totally amp up my home's vibe and make it uber-inviting.
Disclaimer: My blog contains affiliate links. I get commissions for purchases made through links in this post. For more information, please read my Affiliate Marketing Disclaimer.
I've been itching to spruce up this space for ages and finally took the leap to DIY it! Get ready to dive into my design journey, from brainstorming to paint picks and budgeting to style choices. Let's do this!
Pre Design Process
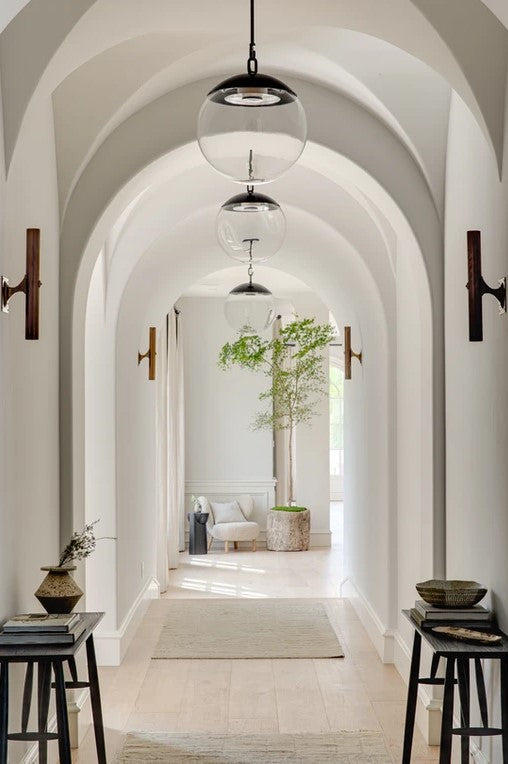 Concept Image 01 (Image via Brooke Wagner Design)
Before kicking off a DIY project, it's key to have a clear vision of what you're going for. For me, I was dead set on crafting a hallway that screams cozy and welcoming vibes, reflecting my unique style and personality.
Related Blog: Foyer Makeover Part 1 (The Design Stage)
I was on a mission to ramp up the functionality and organization, knowing full well it set the tone for my space. With laser focus, I dove headfirst into the project, buzzing to see my vision come to life!
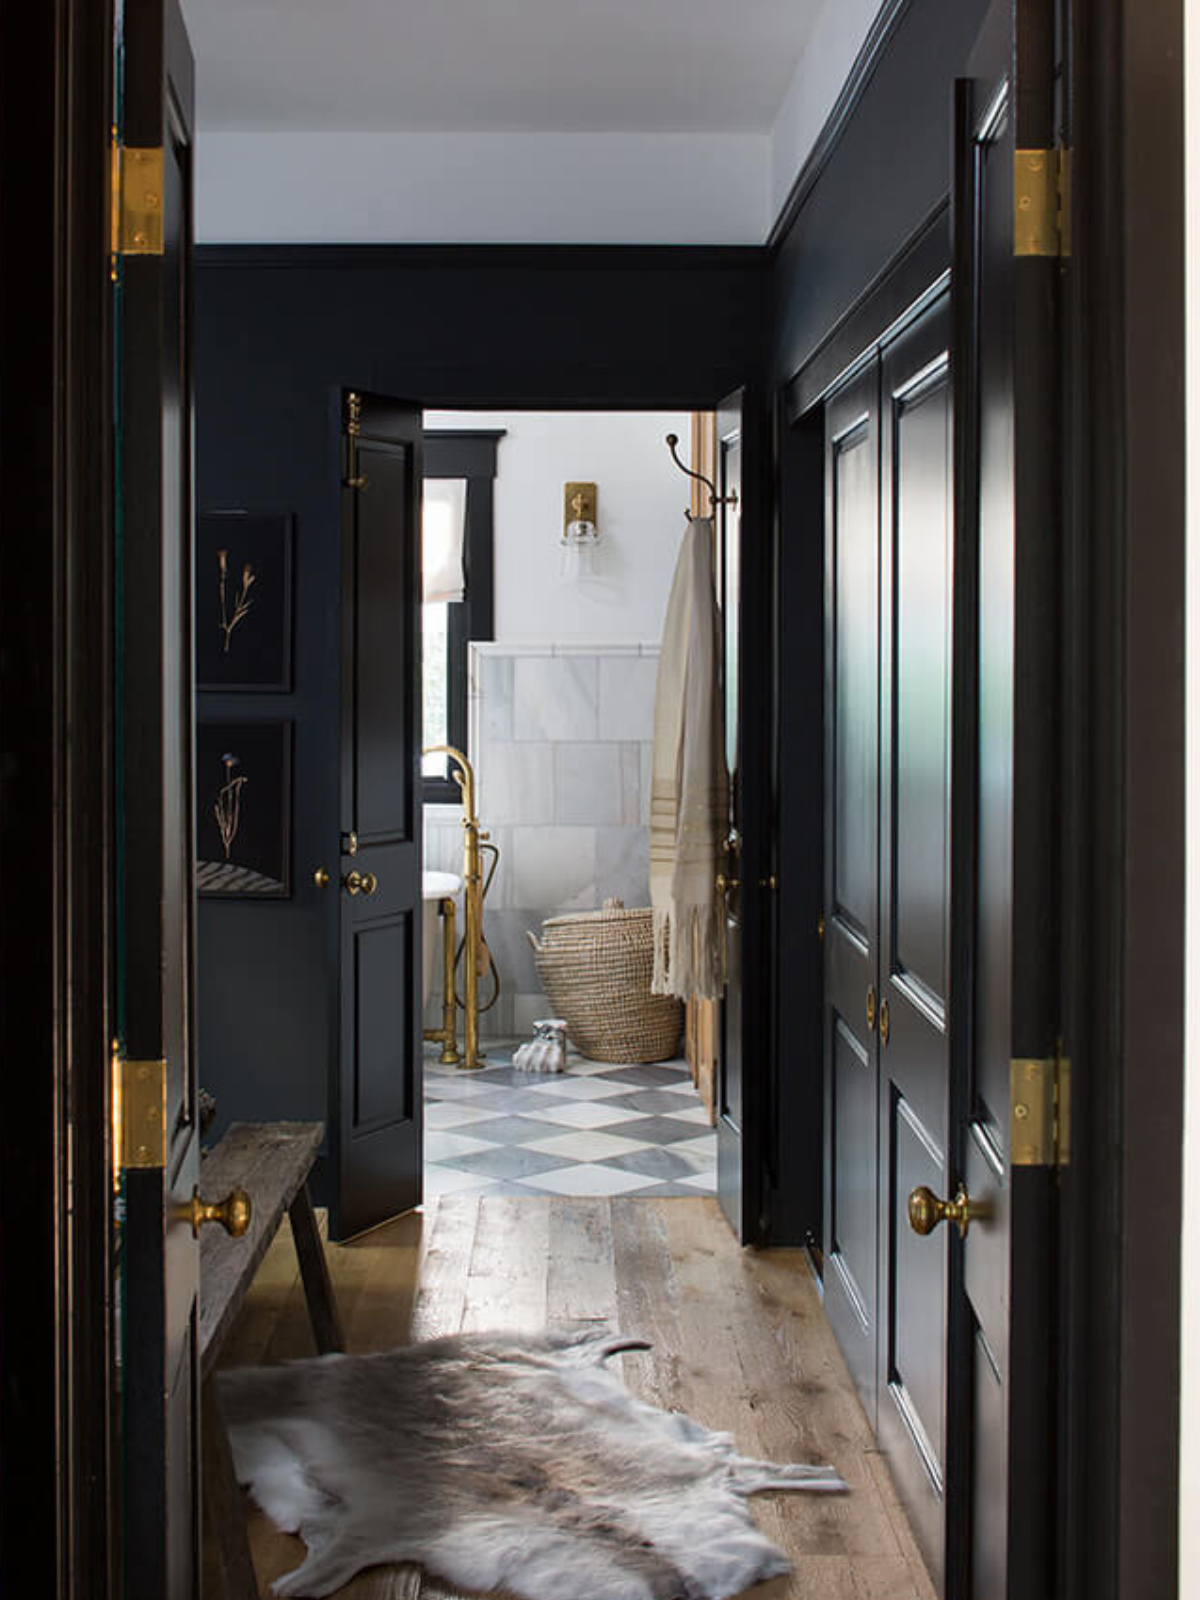 Concept Image 02 (Image via Desire to Inspire)
To make my dreams a reality, I dug deep online and found inspo from bloggers, Pinterest, Insta, and mags. I saved amazing pics and took detailed notes on what I loved about each one.
Mood Board
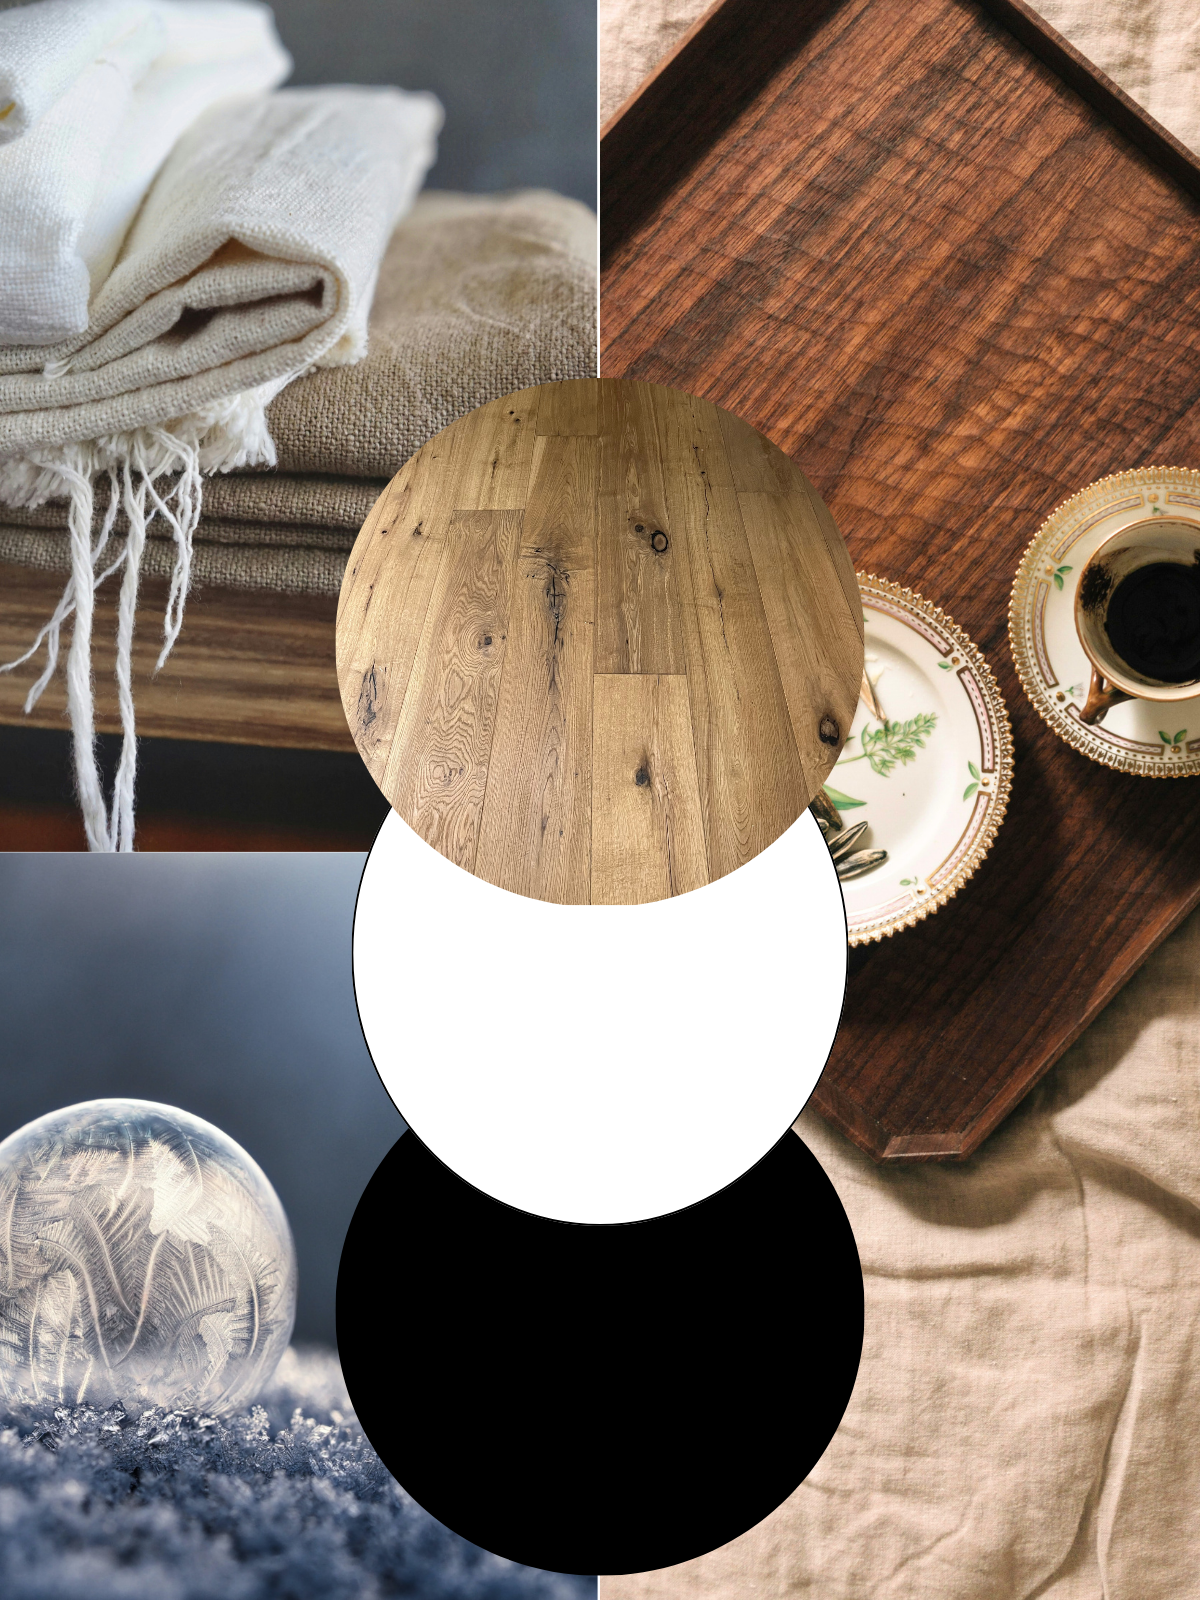
I brainstormed to streamline my creative vibe and whipped up a mood board. This board is a collage of a project's vibe, style, and feel, using pics, colors, textures, and words. It helped me jam on the main stuff and craft my final design theme.
Related Blog: DIY Home Makeover: Why It's Important and What Are the Most Common Problems and Creative Design Solutions?
My space's color palette is all about chill vibes, mixing black and wood for a cool look. The contrast between the cozy wood tones and bright white walls is next level!
I've got some wall decor and plants to jazz up the room and bring some life to it. My goal is to create a chill, modern, and cozy vibe, and this mood board totally nails it.
Ready to dive into a DIY adventure? Join our newsletter and grab our FREE Epic DIY Home Makeover Guide eBook!
Selecting Paint Colors
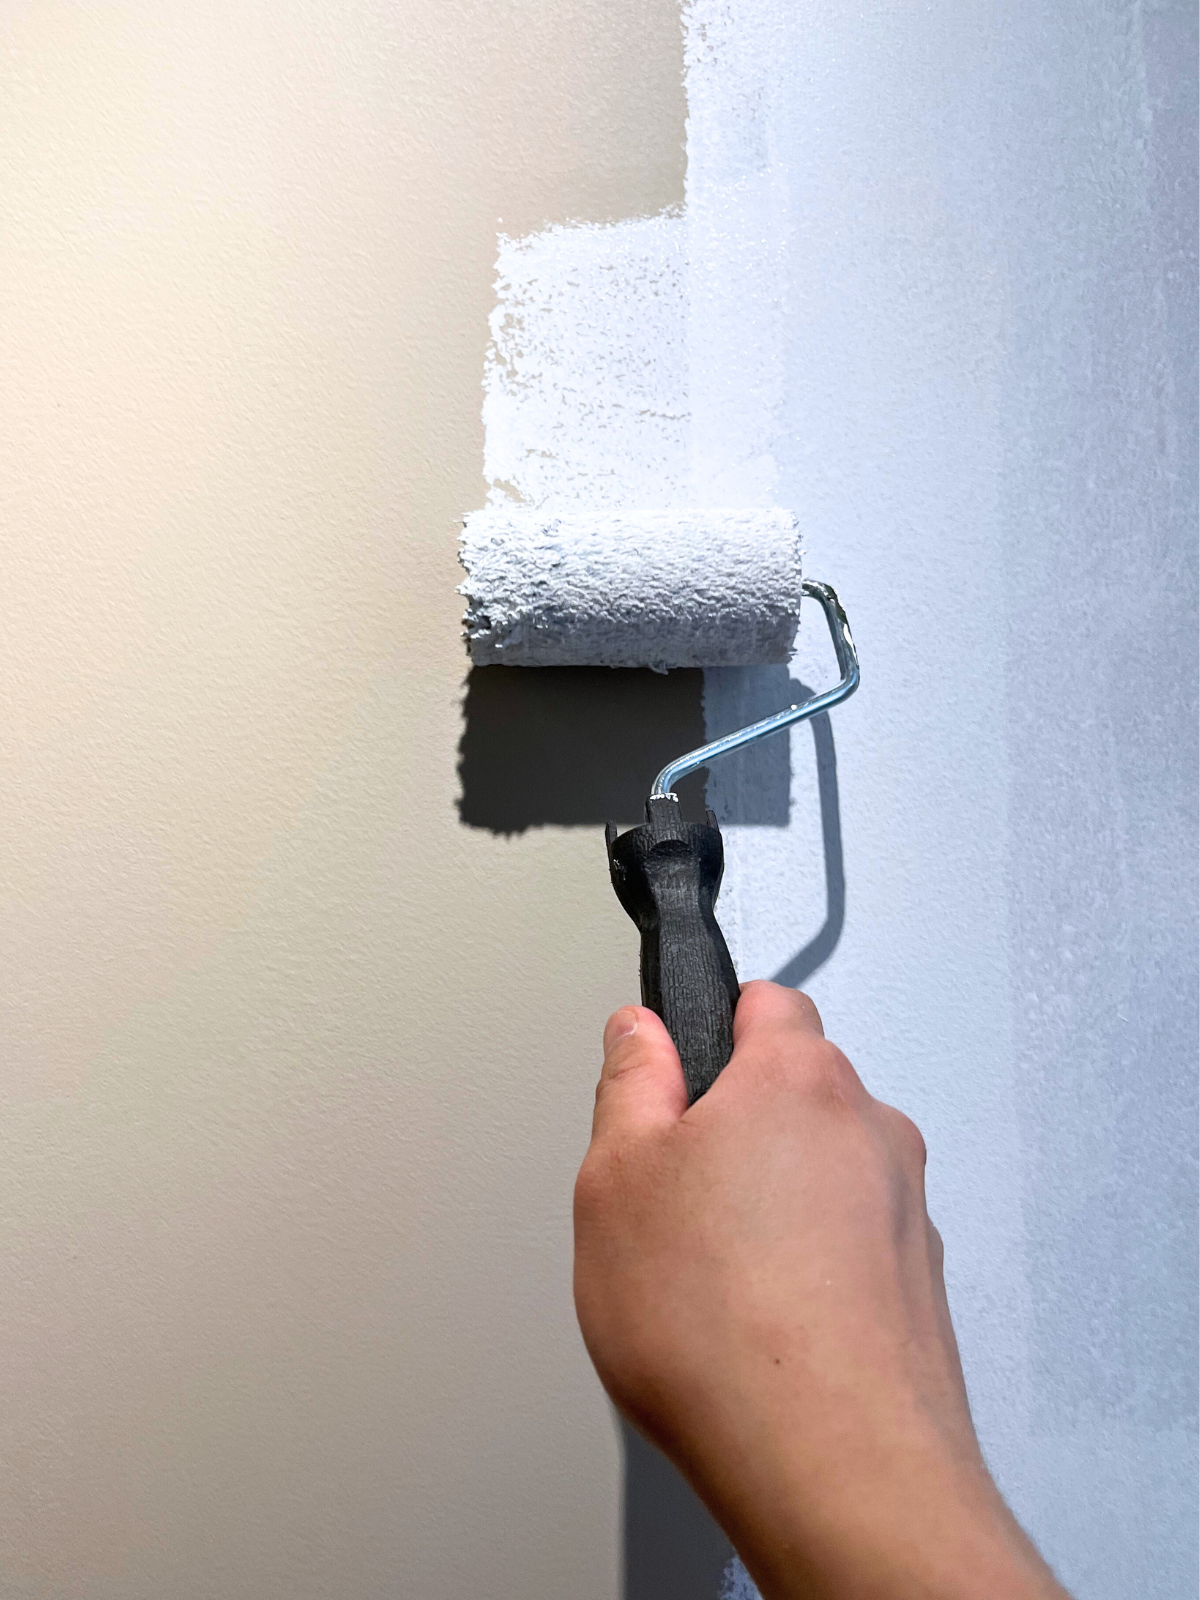
Painting my hallway walls was like the ultimate makeover! The old beige was so blah, I had to jazz things up and make the space pop!
I stirred up some real magic with a fresh, bright hue. If you're thinking about making a similar move, dive right in and see the fab results!
I splashed some paint on those walls, matching the mood board and flooring just right. White is like the chameleon of colors, able to fit any style or decor. Plus, it gives the room that fresh and airy vibe!
Related Blog: 2024 Color of the Year: A Vibrant Palette from the Biggest Paint Brands
I used a paint calculator to gauge how much paint I'd need for my painting gig and discovered I'd need two gallons of Behr Premium Plus Ultra Interior Eggshell Enamel. I snagged some painter's tape, brushes, rollers, trays, and drop cloths to get ready for the job.
Budgeting
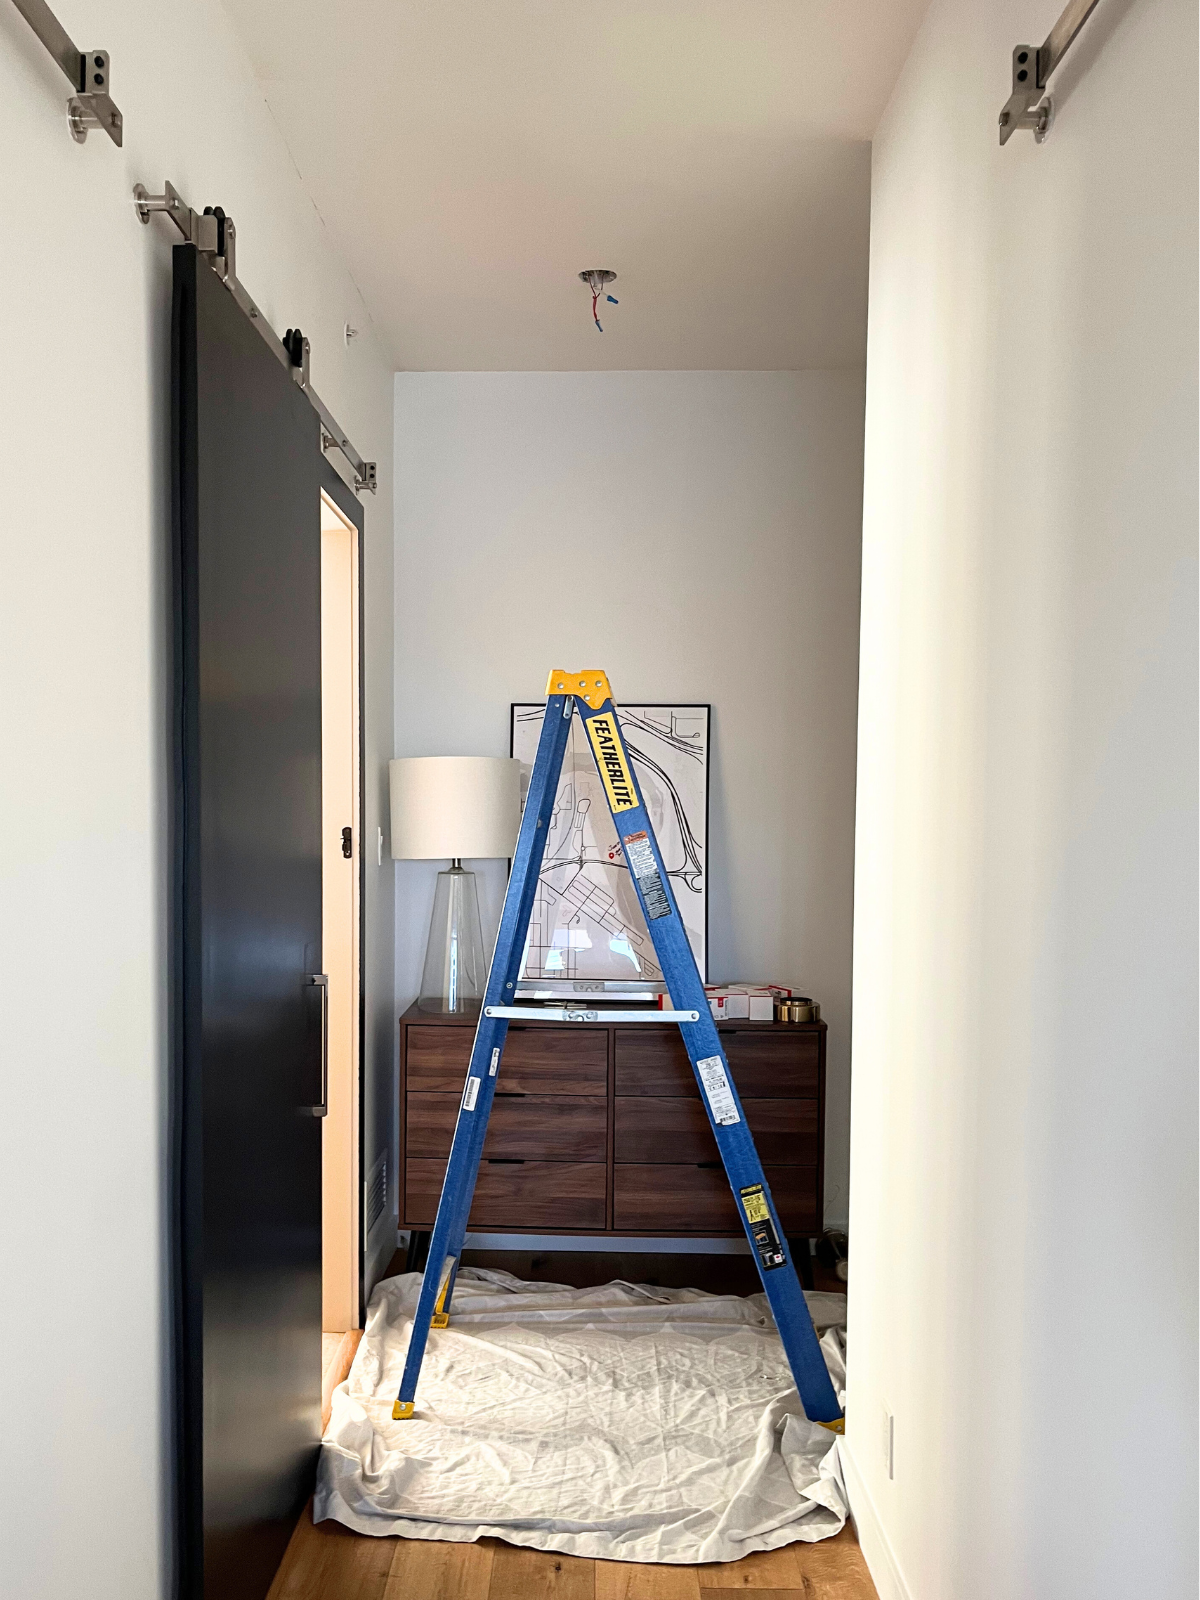 The current floor is totally rocking the fresh white walls and sleek black doors. I'm buzzing to witness the ultimate result of this hallway transformation!
When diving into a DIY project, it's key to set a down-to-earth budget and stick to it. For me, I strove to keep this renovation's costs in check.
I used stuff I already had or could pimp up for my project to save some cash. To make sure I didn't go overboard, I made a list of all the vital materials and guessed their costs. Here's the low-down on my budget:
- Paint and supplies: $150
- Wall art and frames: $125
- Hooks: $20
-Decorative Lights: 160
- Desk Lamp: $45
- Total: $500
The funds for my hallway fix-up are just right, paving the way for a total area makeover. Plus, I've scoured thrift shops and gotten crafty with some DIY projects to save some cash.
Design Considerations
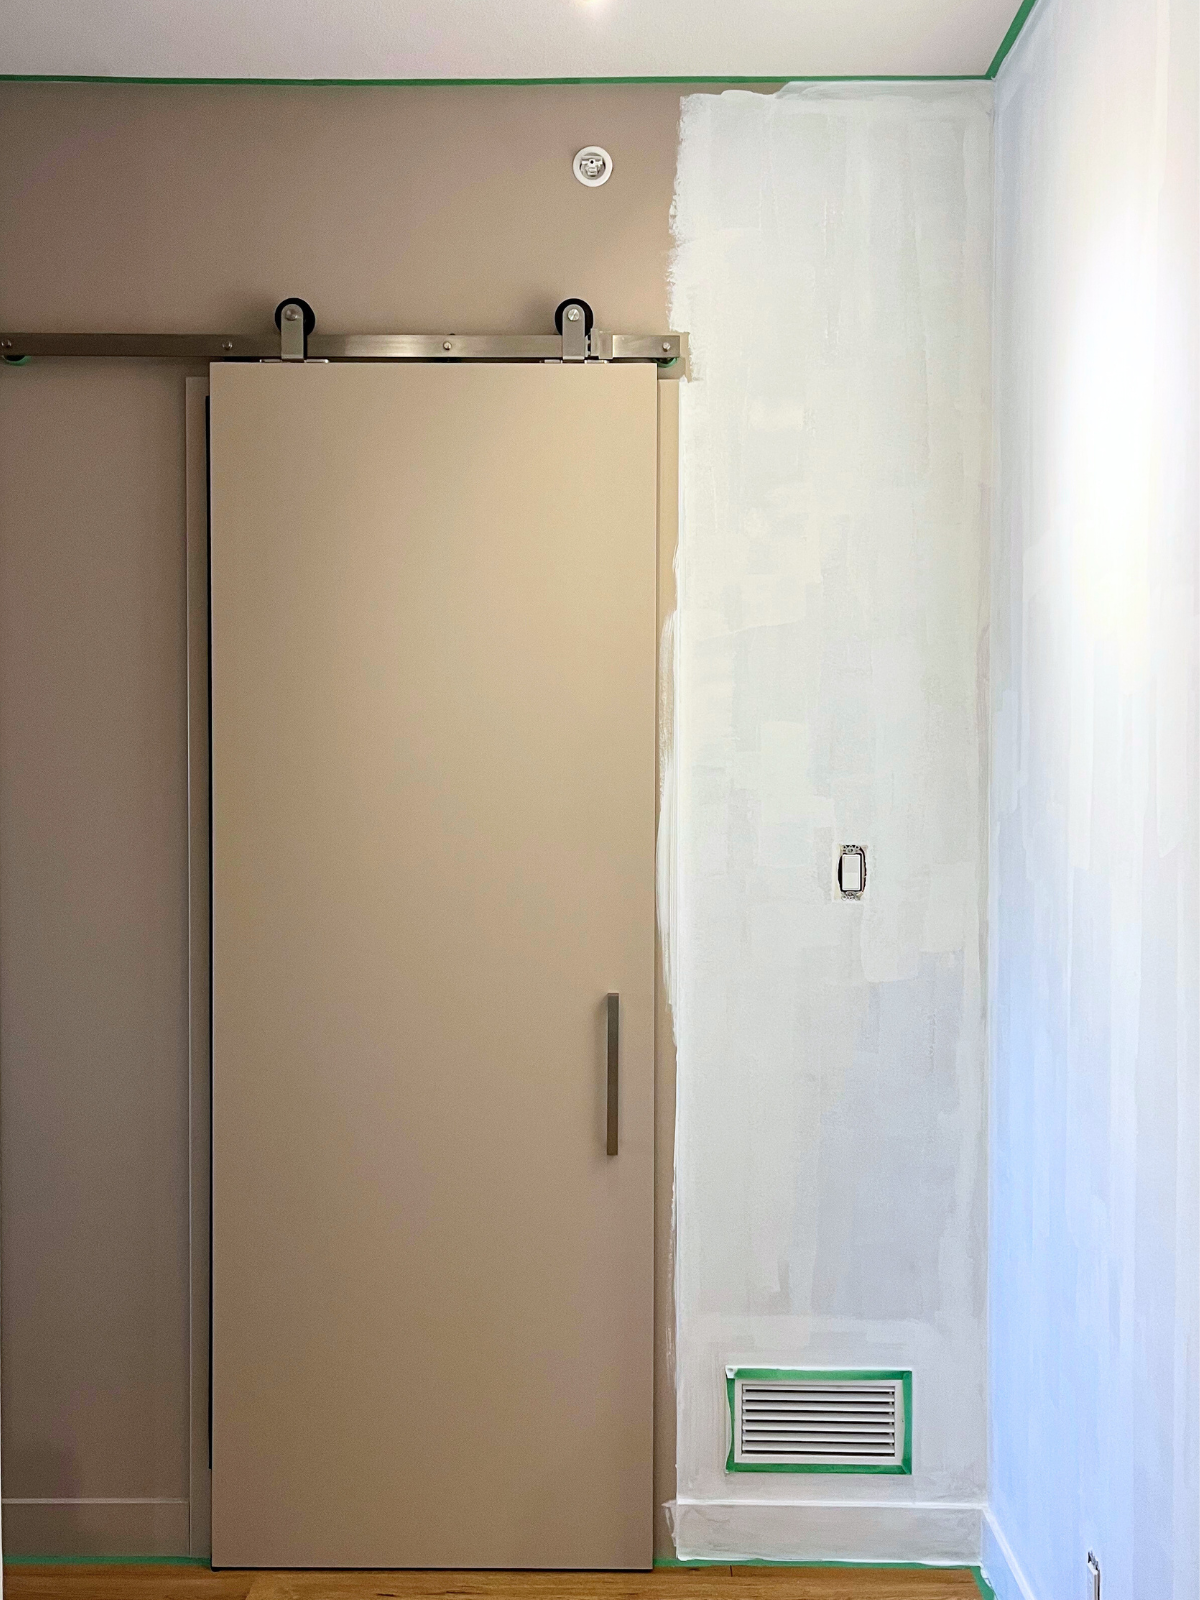 After pondering for days on the ultimate wall and door paint shades, I've finally kicked off the painting works. Hallelujah for the painter's tape!
When I set up my hallway layout, I nailed those measurements like a boss, creating a killer floor plan. I thought about lighting, ventilation, and keeping traffic flow smooth for a comfy and practical space!
Lighting
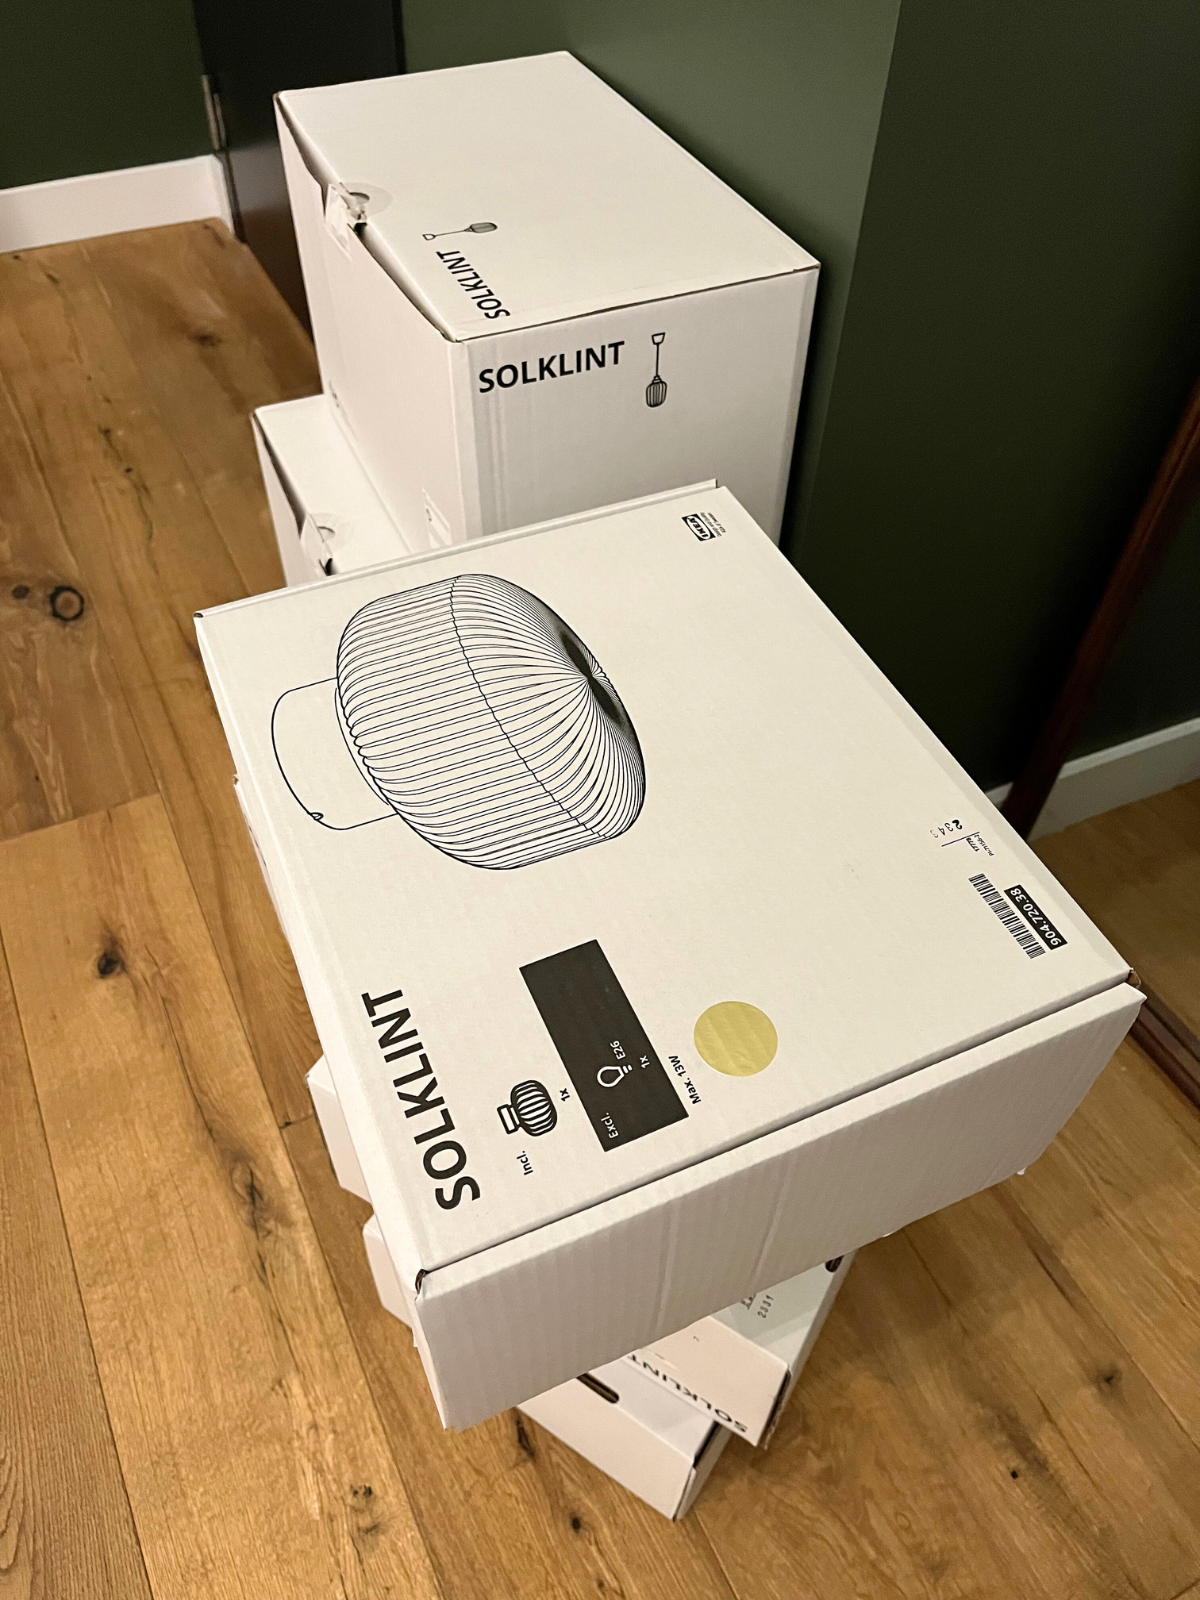
These shiny new flush mount lights came from IKEA, I was like, 'Wow, these are stunning!' They'll totally jazz up my hallway. I'm thinking of hiring a pro to set them up.
I picked a light paint shade to transform the hallway and popped in some gorgeous flush-mount decorative lights. Now, the area is super bright and feels extra roomy!
Ventilation
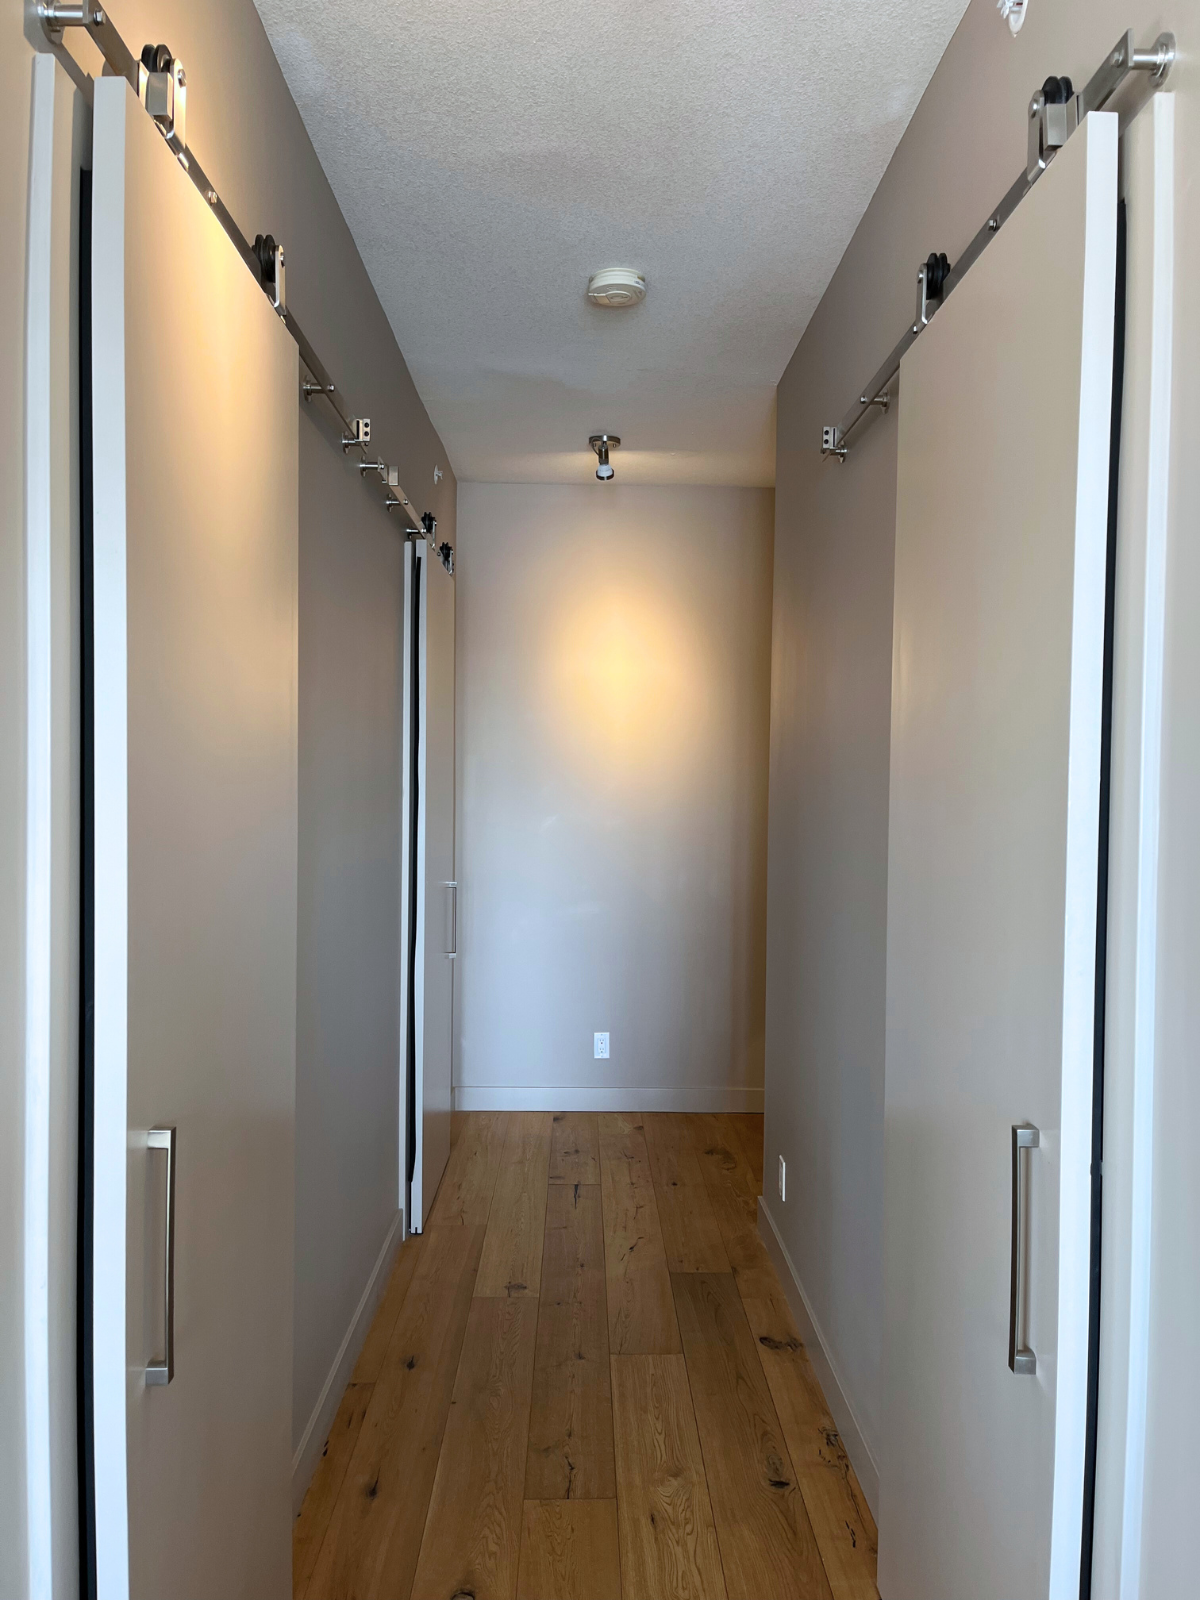 Here's how the hallway looked before all the painting started. The walls were so last century, and those old directional lights were feeling ancient. Can't wait to finish the makeover!
The hallway is linked to the kitchen, so I gotta make sure there's good airflow. Plus, I tossed in some cool plants for a fresh and chill vibe.
Traffic Flow
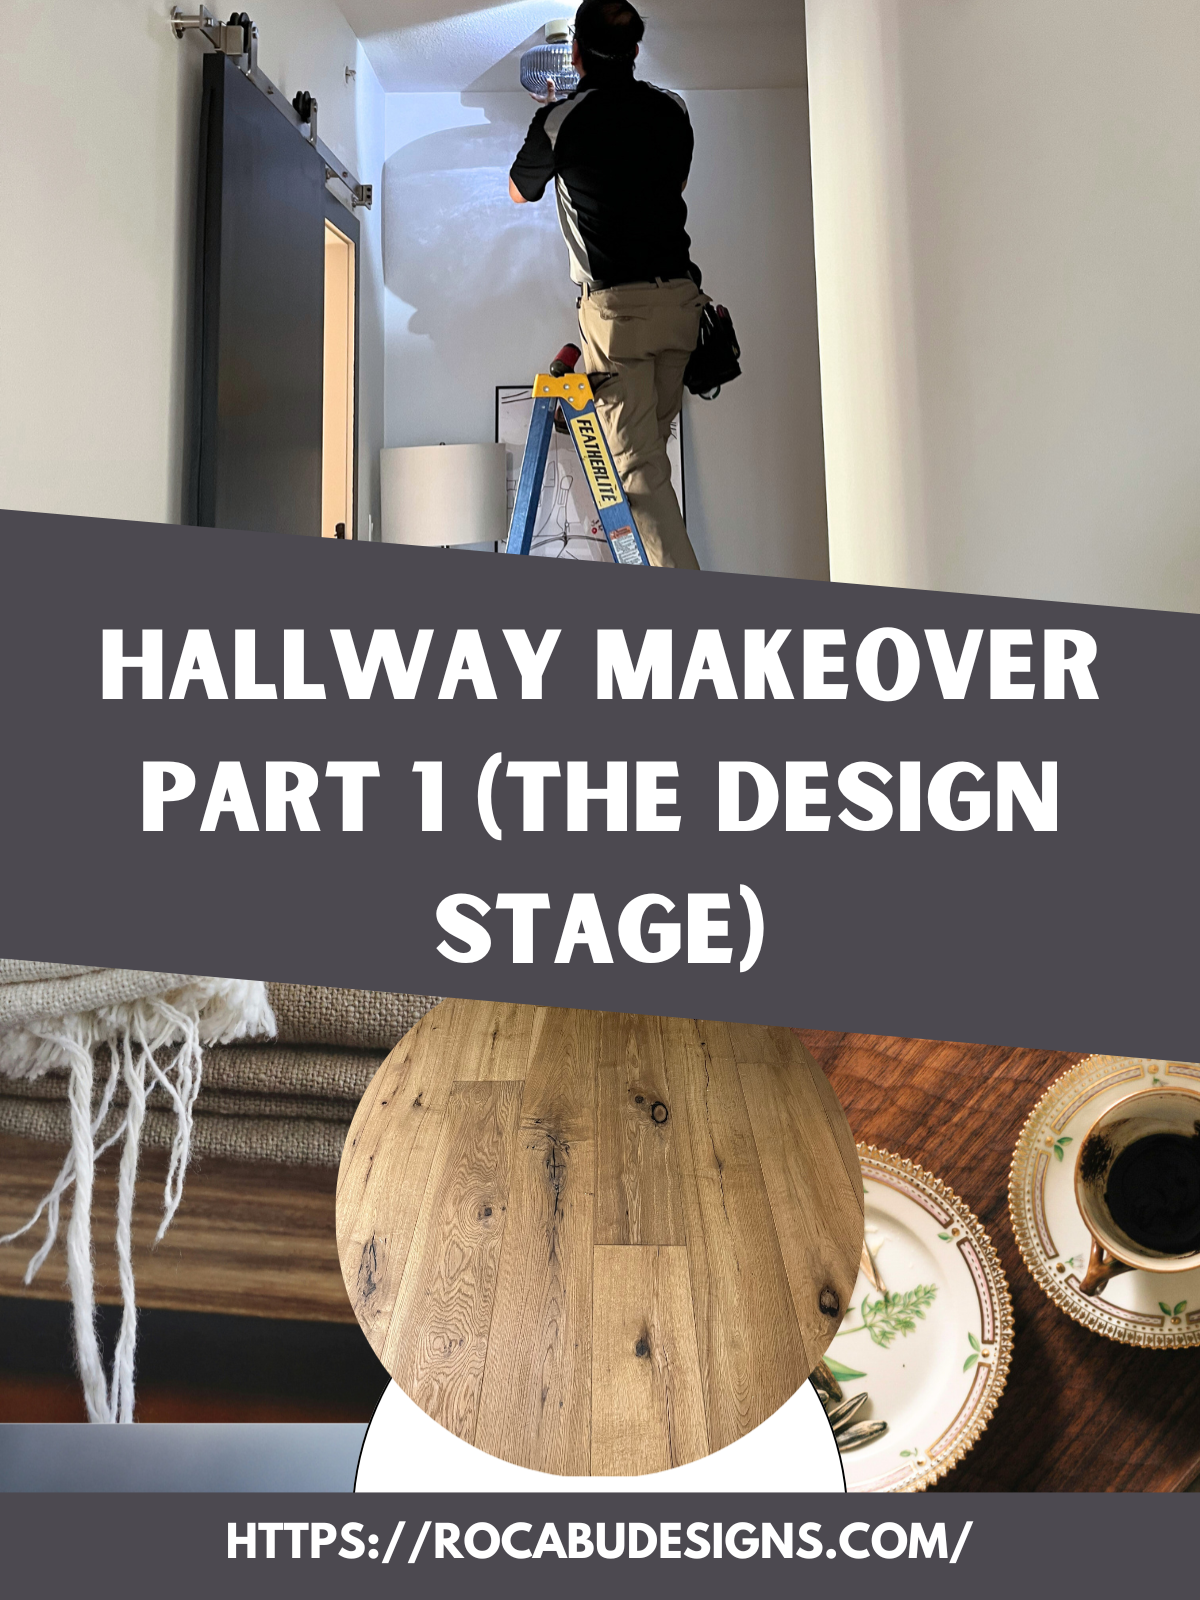
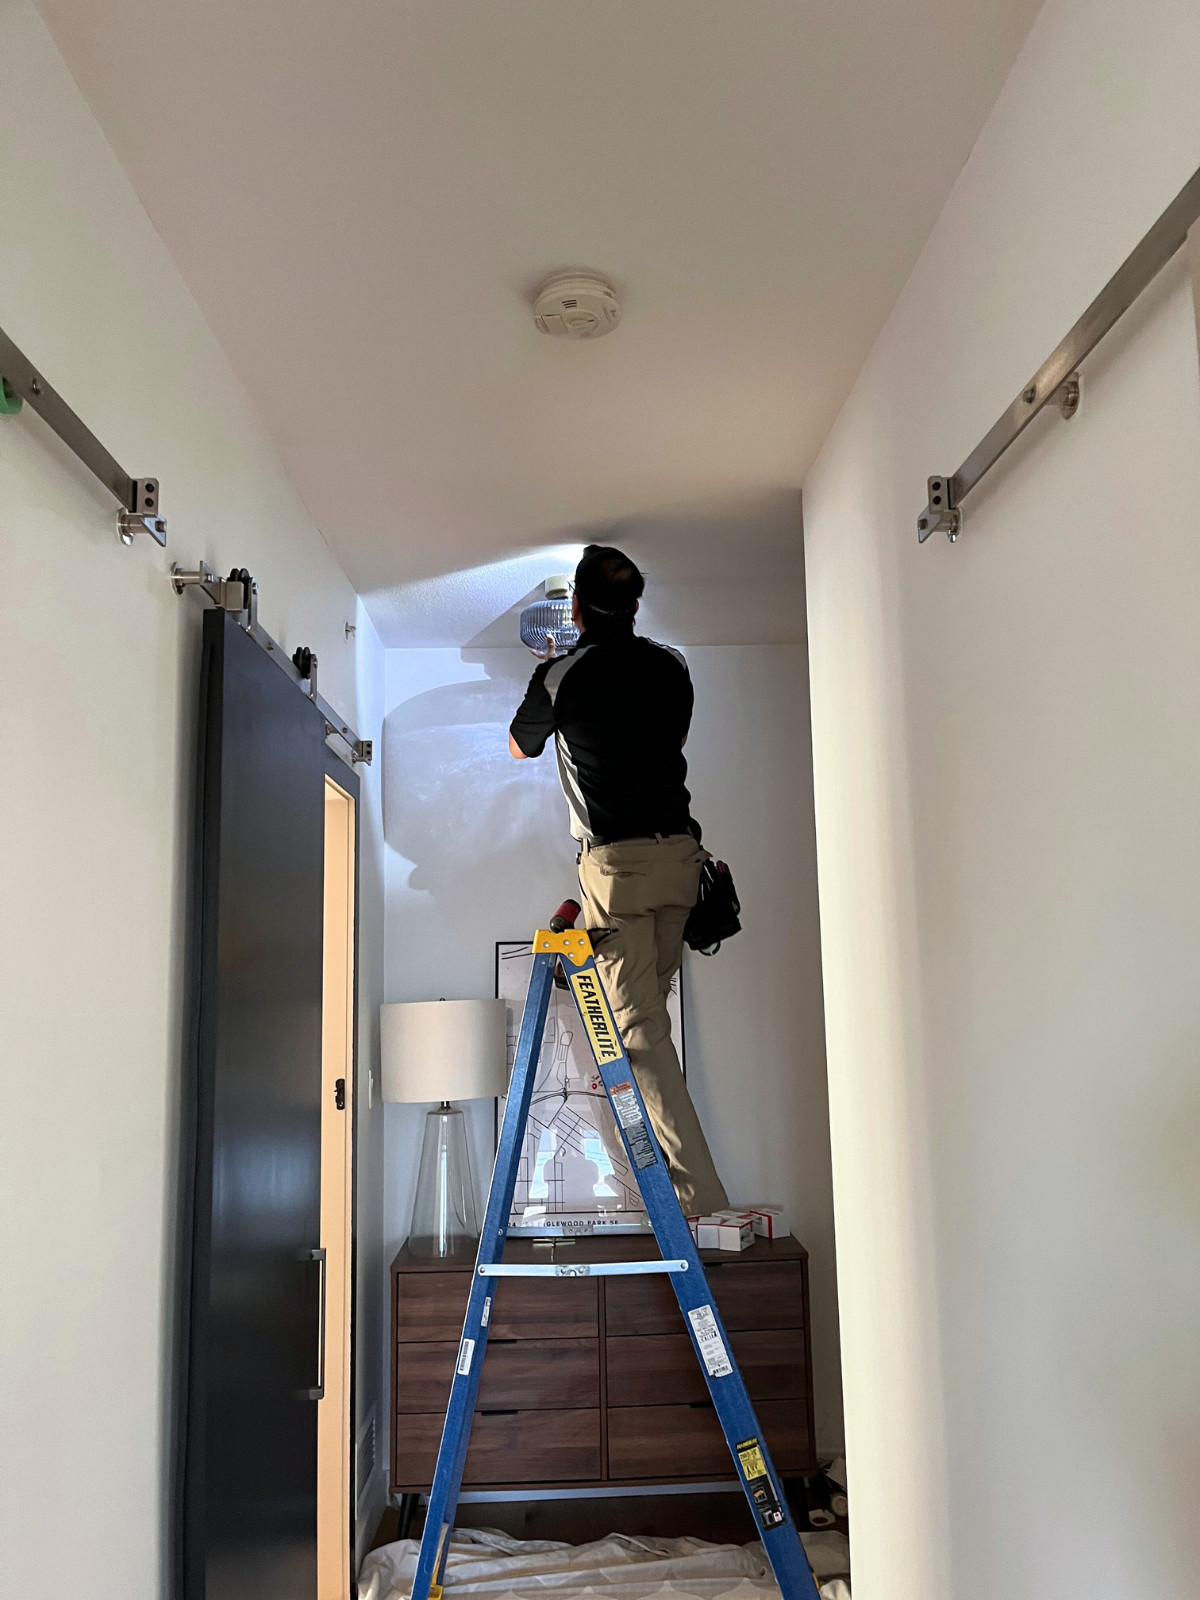 Post painting walls and doors, I had a pro swoop in to set up those fancy new lights.
For a hallway that flows like a breeze, I ditched the bulky stuff and tossed in some bins and baskets to stash shoes, umbrellas, and more. Easy-peasy navigating!
That's a wrap for the first part of my DIY hallway spruce-up. Hope you had a blast soaking in the planning and prep process. Next up, get ready for the big reveal of the actual makeover and final look! I'm bursting with excitement to share! Thanks for tuning in, and enjoy the DIY adventure!
Need some more design inspo? Plunge into our quirkiest blogs for home design tips and tricks!
Foyer Makeover Part 2 (The Transformed Space)
What Is A Foyer And Why Does It Need To Be Well-Designed?
The Most Important Elements for a Well-Designed Hallway
Thanks for checking out my blog. I'm here to share over fifteen years of design expertise (mainly interior design) through reviews, tips, inspiration, and DIY projects.
I hope you love it here as much as I love writing my blogs; feel free to drop a comment, email me at info@rocabudesigns.com, or join our newsletter for fresh blog updates.
Together, let's create meaningful and beautiful spaces.
Ron


